
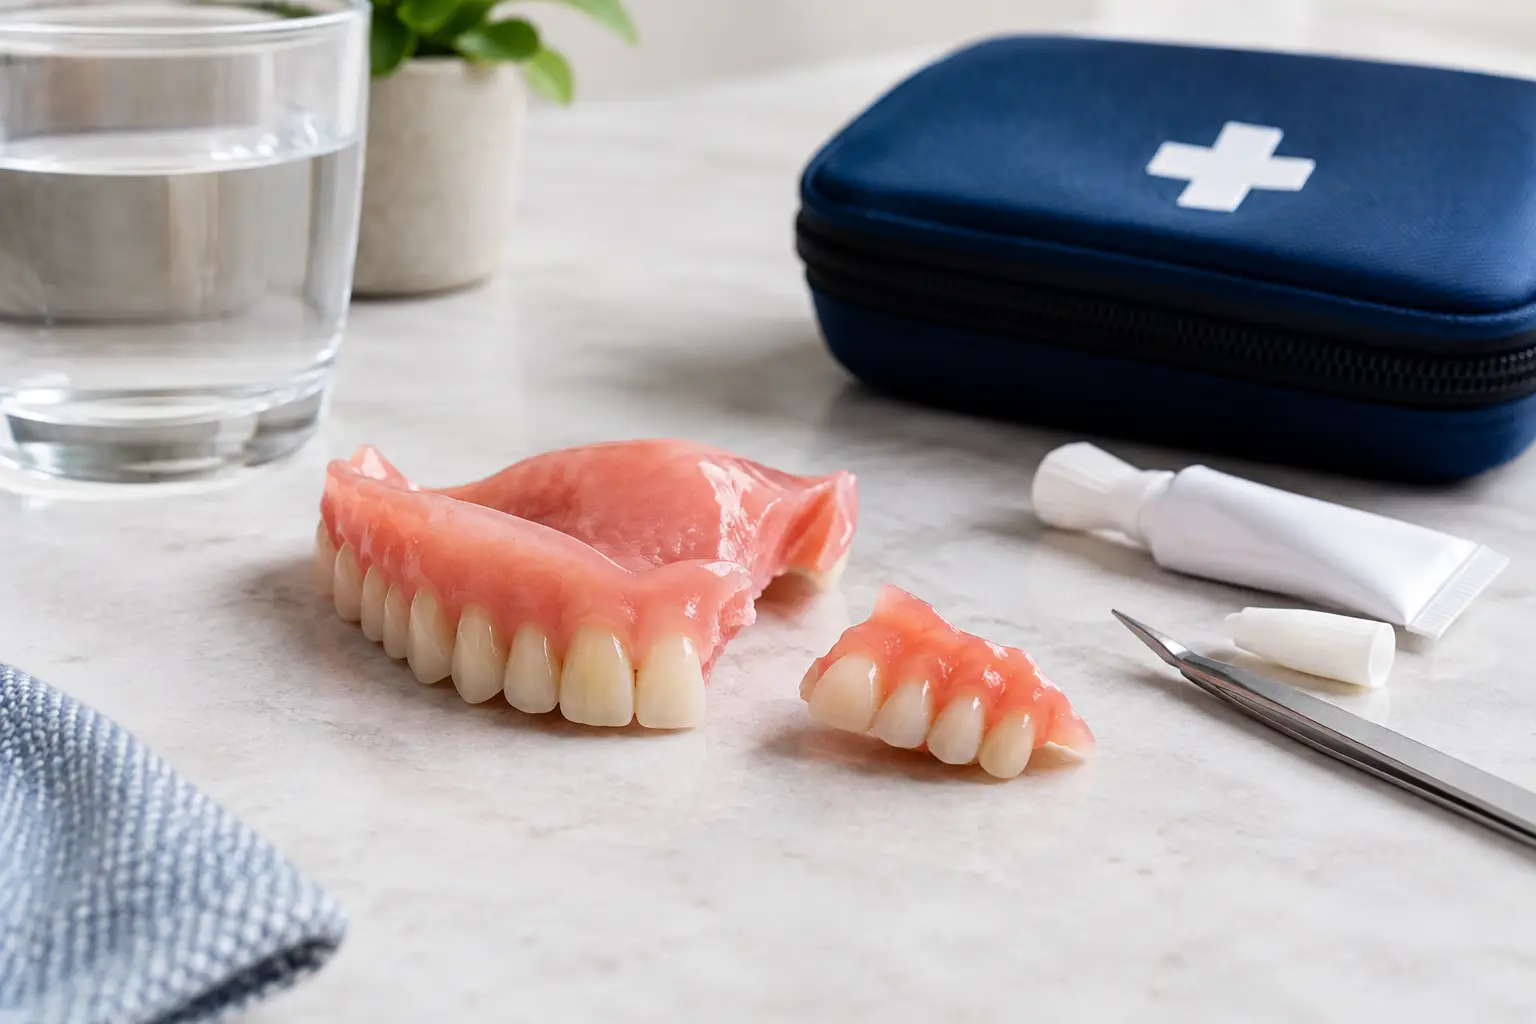
Denture Repair Emergency Checklist for Broken Dentures
A broken denture can turn a normal meal, conversation, or workday into an immediate problem. Use this denture repair emergency checklist to protect the appliance, avoid making the damage worse, and provide the information needed for a professional repair assessment.
Denture Repair Emergency Checklist: First 15 Minutes
Start by removing the denture if it is cracked, loose, painful, or has a sharp edge. Do not try to force it back into place. Continuing to wear a damaged denture can irritate your gums, injure soft tissue, or cause a small crack to spread into a complete break.
Rinse the denture gently with cool or lukewarm water. Do not use hot water. Heat can warp denture material, changing its fit even if the original break is repaired. Use a clean towel over the sink or work surface while handling it. Dentures can be slippery, and another drop may create additional damage.
If the denture has broken into pieces, collect every piece you can find. Wrap the pieces separately in a clean, damp paper towel or place them in a clean container. Do not throw away a small chip, tooth, clasp, or piece of acrylic. Even a small fragment may help a repair laboratory match the shape, bite, or tooth position.
If the denture is intact but suddenly feels loose, do not bend it to make it tighter. This is especially important with partial dentures that have metal clasps. A clasp may be bent, a tooth may be loose, the acrylic base may be cracked, or the fit of your mouth may have changed. Trying to adjust it at home can create a more difficult repair.
What Not to Use on a Broken Denture
Do not use household glue, craft adhesive, super glue, epoxy, tape, or a store-bought repair kit unless a dental professional has specifically instructed you to do so. These materials are not designed for use in the mouth. They can leave residue on repair surfaces, affect how the pieces line up, and make a proper laboratory repair more complicated.
Avoid filing sharp edges with household tools. A rough edge can be uncomfortable, but filing may remove material needed to restore the denture correctly. If an edge is causing a sore spot, leave the denture out and arrange an evaluation instead.
Also avoid soaking the denture in bleach, alcohol, or very hot water. These can damage acrylic, discolor teeth, corrode metal components, or weaken the material. Until you receive repair instructions, keep the appliance clean and protected in water or a denture-soaking solution that is appropriate for your denture type.
Check for Mouth Injuries and Urgent Symptoms
A denture emergency is not always limited to the appliance. Check your mouth for cuts, bleeding, swelling, severe pain, or a loose natural tooth. If you have a deep cut, uncontrolled bleeding, facial swelling, fever, difficulty swallowing, or trouble breathing, seek urgent medical or dental care. A repair laboratory can evaluate the denture issue, but these symptoms need prompt clinical attention.
If you have mild gum irritation from a broken edge, remove the denture and rinse your mouth gently with warm salt water. Do not place adhesive directly on irritated gums or use the damaged denture as a temporary splint. Give the tissue a chance to settle while the appliance is being evaluated.
For many people, the decision to keep wearing the denture comes down to a social event, travel, or concern about eating. The safer choice depends on the damage. A clean, minor cosmetic chip may not create the same risk as a crack through the base, a detached tooth, or a sharp fracture line. When there is uncertainty, do not wear it until a professional reviews the condition.
Document the Damage Before You Send a Request
Clear information helps move a repair request forward. Before cleaning or packing the denture, take several photos in good light. Photograph the front, back, chewing surface, and close-ups of the damaged area. If the appliance is in multiple pieces, place the parts near each other without gluing them together and take a photo showing how they appear to fit.
Your repair request should describe what happened and what changed. Useful details include whether the denture is full or partial, when the damage occurred, whether it broke in one piece or several, and whether you are having pain or trouble wearing it. If a tooth came out, say whether you still have the tooth. If a partial denture has a loose or bent clasp, mention which side of the mouth it is on.
You can also include whether the denture has been repaired before. Prior repairs do not automatically prevent another repair, but they help the laboratory understand the condition of the acrylic and the history of the appliance.
Prepare the Denture for Professional Review
Keep the denture in a protective container, away from pets, children, and direct heat. If it is a full acrylic denture, keeping it moist can help prevent drying. For partial dentures with metal parts, follow the cleaning and storage routine recommended for that appliance. Do not place it loose in a pocket, purse, or paper envelope where it can be bent or lost.
When contacting a repair provider, include your name, phone number, location, the description of the damage, and your photos. Denture Repair Laboratory uses a direct inquiry process that allows customers to explain the issue and upload supporting files for review. Accurate photos and a short description can help identify the appropriate next step before you make arrangements.
Do not attempt to mail or deliver a denture until you have received instructions. The right packaging matters, especially when there are loose pieces, detached teeth, or delicate metal components. A repair provider may need additional information about fit, prior repairs, or the condition of the denture before confirming how to proceed.
Managing Meals and Daily Activities While You Wait
If you must go without your denture for a short period, choose soft foods that do not require heavy chewing. Eggs, yogurt, oatmeal, soups that are not too hot, mashed vegetables, and soft fish are often easier to manage. Cut food into small pieces and eat slowly. Avoid hard, sticky, or chewy foods that can strain a damaged appliance or irritate tender gums.
For partial denture wearers, be mindful of the remaining natural teeth. Chewing only on one side can sometimes make a damaged partial feel manageable, but it may also put uneven force on the denture and natural teeth. Do not use a cracked or loose partial for chewing if it shifts, pinches, or catches on your teeth.
Speech may feel different without a denture, particularly with a full upper denture or a front tooth replacement. Give yourself extra time for calls or conversations, and avoid pushing the appliance back in just to speak more clearly. Comfort and safety come first.
Common Repair Situations
A denture repair can involve several different problems. A clean break across the acrylic base is common after a drop or after repeated stress over time. A loose or missing denture tooth may occur when the tooth separates from the base. A crack may begin near a tooth, around a thin area of acrylic, or near a partial denture clasp.
Partial dentures require special care because they may include acrylic, artificial teeth, and metal framework or clasps. A bent clasp may affect retention, but it should not be adjusted with pliers. A framework that no longer sits correctly may need professional evaluation, particularly if it has become distorted after being dropped or stepped on.
Relines, fit changes, and repairs are not the same service. A denture that is not visibly broken but rocks, rubs, or repeatedly needs more adhesive may have a fit issue rather than a simple fracture. Providing a clear description of the problem helps determine whether repair is appropriate or whether you should first see your dentist for an oral examination.
A Simple Rule for Any Denture Emergency
Protect the denture, protect your mouth, and avoid temporary fixes that can interfere with professional work. A clean appliance, all recovered pieces, clear photos, and an accurate description give a repair provider the best starting point. Taking those steps early can prevent a stressful break from becoming a larger interruption to eating, speaking, and daily routine.
Comments