
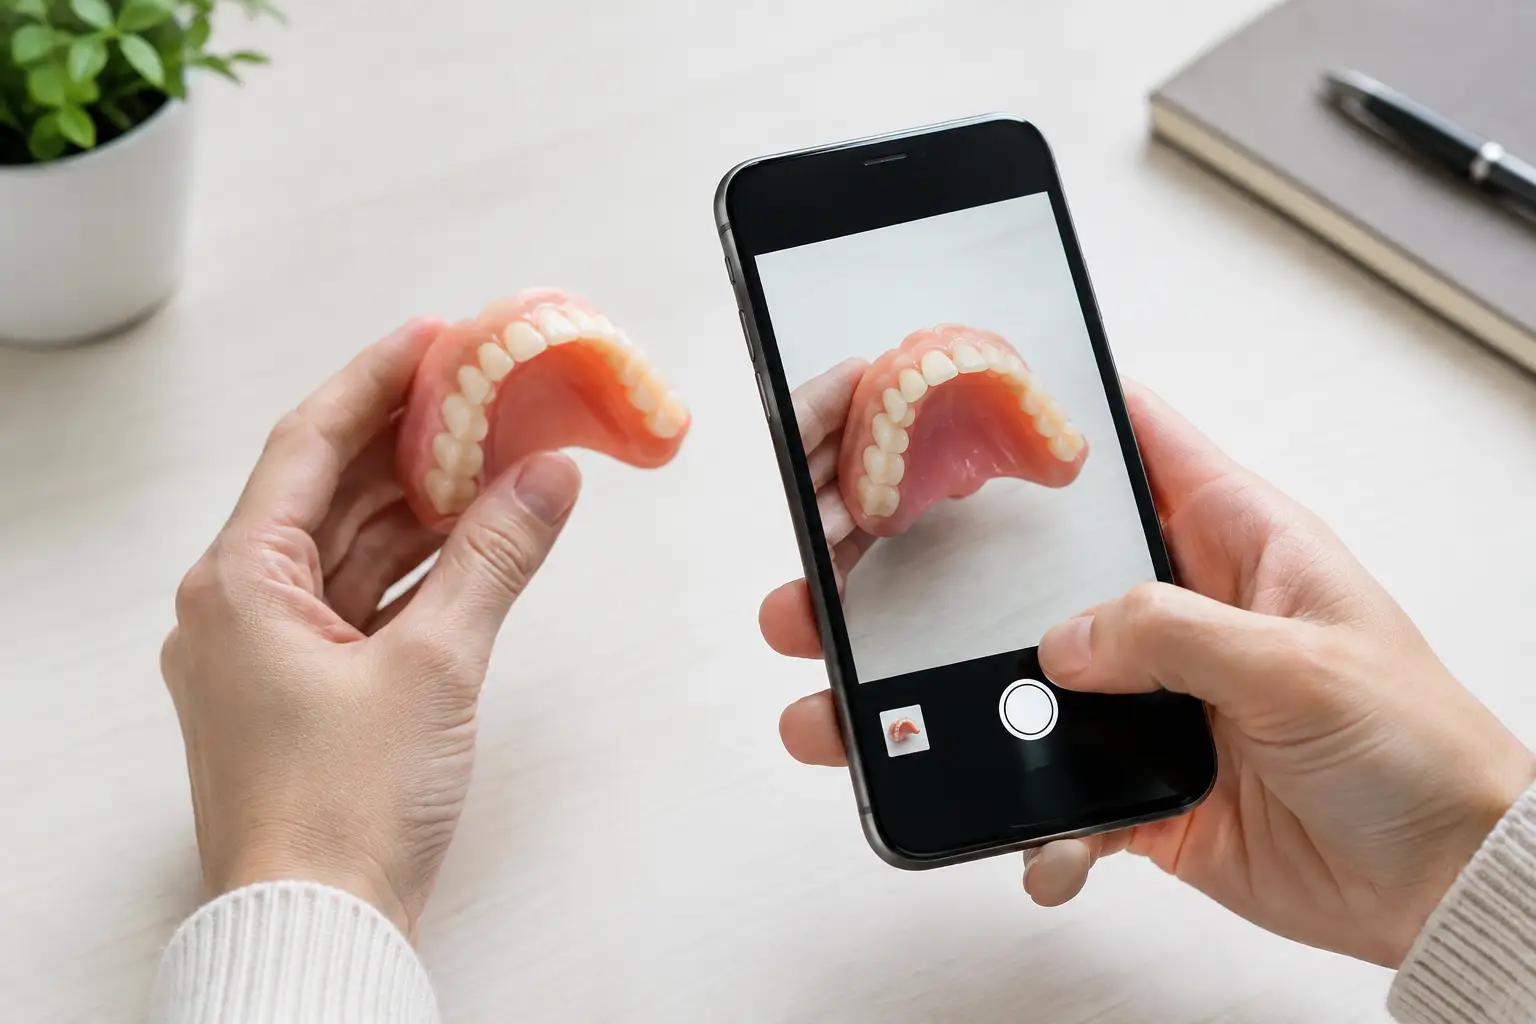
Send Photos for Denture Repair the Right Way
A broken denture can interrupt meals, speech, and daily routine without warning. When you send photos for denture repair, clear images give the laboratory a better starting point to understand what happened, identify visible damage, and determine what information is needed next.
Photos are not a substitute for a hands-on evaluation. They are a practical part of the repair request process. A few well-lit images, paired with a short description of the problem, can prevent delays caused by missing details or unclear views of the appliance.
What Photos Help Show
A denture may look intact from one angle while a crack, loose tooth, bent clasp, or damaged edge is visible from another. The purpose of photos is not to diagnose the problem yourself. It is to show the denture as it is now, including the area that concerns you.
For a full denture, photos can show a split in the base, a missing or loose tooth, worn chewing surfaces, or a change in the shape of the appliance. For a partial denture, images may also show metal clasps, framework, acrylic sections, and the areas where the denture rests against natural teeth.
If the denture has become uncomfortable but is not visibly broken, photos can still be useful. Show the full appliance and describe where it rubs, feels loose, shifts during eating, or makes speech difficult. A photo may not show every fit concern, but it gives helpful context for the repair request.
How to Take Clear Denture Photos
Use a clean, dry surface and good lighting. Daylight near a window often works well, but a bright indoor light can also be sufficient. Avoid taking the pictures in a dark room or directly under harsh light that creates glare on the acrylic or metal.
Place the denture on a plain, light-colored towel, sheet of paper, or countertop. A simple background makes cracks, teeth, and clasps easier to see. If possible, use the camera on the back of a smartphone rather than the front-facing camera, since it usually produces sharper images.
Hold the camera steady and allow it to focus before taking the photo. Do not use filters, portrait effects, or heavy editing. The goal is an accurate view of the appliance, not a polished image.
Include more than one angle
One close-up is rarely enough. Take a photo of the entire denture from the front, then photograph the inside surface that rests against the gums. Add side views when possible. For partial dentures, include clear views of both the acrylic and metal components.
Then take close-up photos of the damaged area. If there is a crack, photograph it from both sides of the denture. If a tooth is loose or missing, capture the surrounding teeth and the spot where the tooth belongs. If a clasp is bent or broken, include a close photo as well as a wider image that shows where that clasp sits on the partial.
A useful set of photos generally includes the full appliance, the tissue-facing side, the biting surface, and close-ups of the problem area. These views work together to show the overall condition rather than isolating one small detail.
Keep all broken pieces
If a denture has split into pieces, keep every piece you can find. Place them on the same flat surface and photograph them together before moving them. Then take closer photos where the sections meet.
Do not throw away a chipped tooth, loose clasp, or small piece of acrylic. Even a small fragment may help clarify the original shape and location of the damage. Store the pieces in a clean container until you receive instructions about the next step.
What to Write With Your Photo Upload
The photos work best when they are accompanied by a short, factual description. There is no need to use technical terms. State what you noticed, when it happened, and how the denture is affecting normal use.
For example, you might write that the upper denture cracked down the center after it was dropped, that a back tooth came loose during a meal, or that the lower denture has started shifting while you speak. If the denture has already been repaired before, include that information. Previous repair areas can matter when assessing the appliance.
Also include whether the denture is a full denture or a partial denture. If it is a partial, say whether the concern involves acrylic, a tooth, a metal clasp, or the framework. If you are submitting the request for a parent, spouse, or another family member, describe the issue as clearly as possible and provide the contact details needed for follow-up.
It is helpful to mention whether the appliance is currently wearable. A denture that is cracked, sharp, loose, or unstable should not be forced into place. Continued use can make damage worse or irritate the mouth.
Common Photo Problems That Slow Review
Blurry photos are the most common issue. If the camera cannot focus on the crack or tooth, move back slightly, allow the image to focus, and then crop the photo if needed. Trying to photograph too close can make the damage less visible, not more.
Dark backgrounds and shadows can also hide fine cracks. Retake photos in brighter light if the denture blends into the surface beneath it. Reflections from flash can be a problem on polished acrylic or metal, so turn off the flash when it creates glare.
Avoid sending only a photo of the broken section without a picture of the entire denture. A close-up shows the damage, but the full view helps show its position and the condition of the rest of the appliance.
Do not attempt a home repair before taking pictures. Household glues, adhesives, and repair kits can leave residue, change the fit, or make professional repair work more difficult. They can also create rough areas or introduce materials that are not intended for use in the mouth.
When Photos May Not Be Enough
Photos are useful for starting a repair request, but some problems cannot be fully evaluated in an image. A denture that feels loose, rocks during chewing, causes sore spots, or no longer meets correctly may require additional information or an in-person clinical assessment. Fit changes can result from changes in the mouth as well as wear or damage to the denture itself.
If you have pain, swelling, bleeding, sores that do not improve, signs of infection, or trouble swallowing or breathing, contact an appropriate dental or medical professional promptly. A denture repair request should not delay care for an urgent health concern.
The same applies if the denture has broken repeatedly or no longer functions as it should. Repair may be appropriate in some cases, while other cases need further evaluation. Clear photos help begin the conversation, but the right next step depends on the condition of the appliance and the nature of the problem.
Before You Submit Your Request
Review your images once before uploading them. Make sure at least one photo shows the full denture, the damage is visible in a close-up, and the images are bright enough to review. Select the clearest versions rather than sending many nearly identical photos.
Include your name, contact information, and a direct description of the issue. If there are multiple appliances involved, label them in your notes, such as upper full denture, lower full denture, or partial denture. This keeps the request organized from the start.
Denture Repair Laboratory uses uploaded files and customer details to begin reviewing repair needs and coordinate the appropriate next step. A clear photo set gives the repair process a more useful starting point and helps ensure the condition you are seeing is communicated accurately.
Take the photos before attempting any temporary fix, keep every broken piece together, and describe what changed. Those simple steps can make a repair request clearer from the first contact.
Where we help: patients walk in or mail their dentures to us from Boston, Everett, Lowell, Framingham, Worcester, Plymouth, the North Shore, Middlesex & MetroWest, South of Boston, Cape Cod, southern New Hampshire and Providence, RI.
Comments